Magic Mouseのマルチタップを自在にカスタマイズできる「BetterTouchTool (BTT)」はすごい!
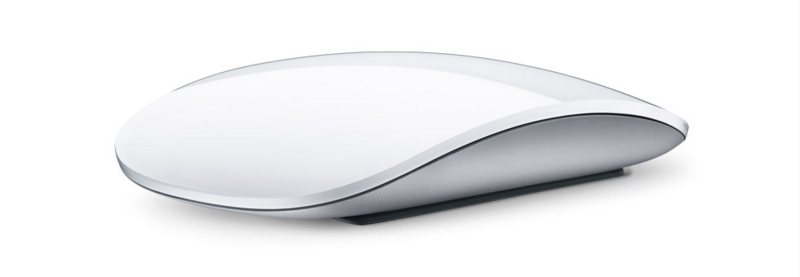
Magic Mouseにはスクロールやページを戻るなどのマルチタップ機能がありますが、そのゼスチャーとキーボードショートカットを自在にカスタマイズできるアプリ、「BetterTouchTool (BTT)」を試してみました。
ダウンロード先はここ
ダウンロード後、アプリケーションフォルダに移動し、「BetterTouchTool.app」を起動します。
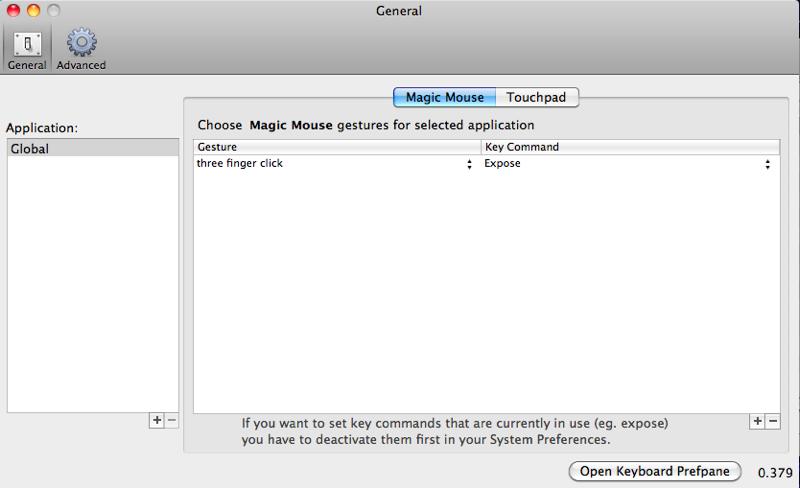
設定画面の左側がアプリケーションの指定で、最初はGlobal(全般)のみになっています。
個別アプリごとに指定することもできます。左の「Application」下の「+」を押してアプリを指定します。
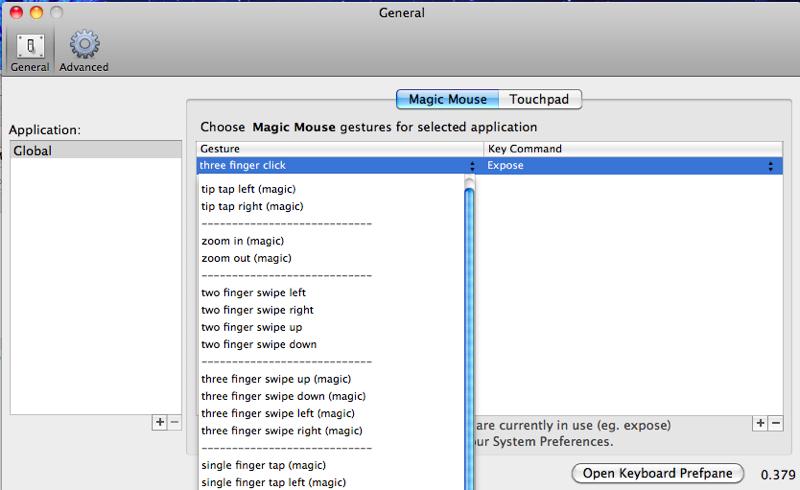
まずはゼスチャーを指定します。真ん中の「Gasture」をクリックして指定します。追加する場合は下の「+」を押して指定します。
以下がゼスチャー一覧です。
- tip tap left (magic)
- tip tap right (magic)
- tip tap left & right (magic)
- zoom in (magic)
- zoom out (magic)
- two finger swipe left (magic)
- two finger swipe right (magic)
- two finger swipe up (magic)
- two finger swipe down (magic)
- three finger swipe up (magic)
- three finger swipe down (magic)
- three finger swipe left (magic)
- three finger swipe right (magic)
- single finger tap (magic)
- single finger tap left (magic)
- single finger tap right (magic)
- two finger tap (magic)
- two finger click (magic)
- three finger tap (magic)
- three finger click
- Whole hand on mouse (magic)
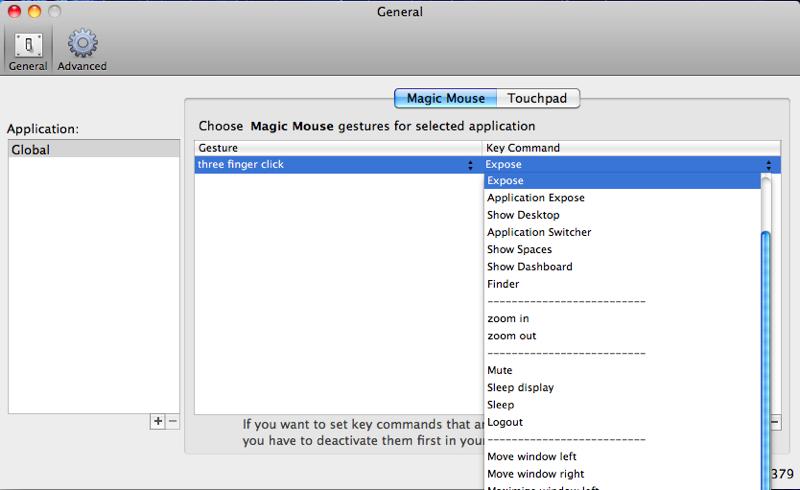
次にショートカットキーやコマンドキーの設定です。「Key Command」をクリックしてキーを指定します。追加する場合は下の「+」を押してキーを指定します。
下記がキー一覧です。
- Application Expose
- Middleclick
- CMD - Click
- Leftclick
- RightClick
- Expose
- Application Expose
- Show Desktop
- Application Switcher
- Show Spaces
- Show Dashboard
- Finder
- Zoom in
- Zoom out
- Mute
- Sleep display
- Sleep
- Logout
- Move Window left
- Move Window right
- Maximize Windows left
- Maximize Windows right
- Maximize Windows (real maximize)
- Windows to next monitor
- Windows to previous monitor
- Maximize window to next monitor
- F1
- F2
- F3
- F4
- F5
- F6
- F7
- F8
- F9
- F10
- F11
- F12
今回は「3本指クリックでExpose」を設定してみました。ウインドウ切り替えに結構便利です。
画面の上にアイコンがありますので、いい設定が思い浮かべばどんどん追加してみましょう。
ゼスチャーがいっぱい増えてきそうです。
このMagic MouseはiPhoneと同様、アプリによって様々な機能を追加できるのが非常に楽しみでした。それを実現したこの「BetterTouchTool (BTT)」。開発者に感謝ですね。


